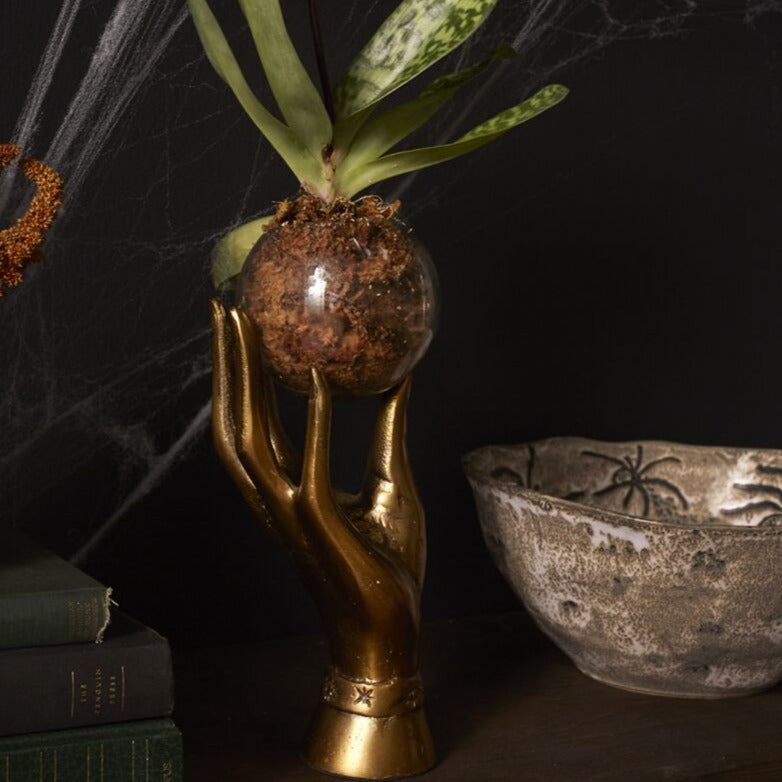
How to repot orchids?
The time has come. Your Orchid has been thriving and growing (or maybe it’s looking a bit cramped to be honest), but now it’s looking like it needs a new home. We all know Orchids can be a tad finicky though, and might leave you wondering “how the heck do I repot my orchid without killing it??”
After all the love and hope you’ve invested in this plant, you don’t want this to be the end.
Well, take a deep breath. We are going to do this together, and we have answers to all your orchid repotting questions.
Ready? Let’s do it.
When should you repot orchids?
There are a couple of different signs that call for repotting your orchid. The easiest thing to look out for is roots starting to grow out of the pot. That means your Orchid is outgrowing its current pot.
Another thing to look out for is root rot, which typically is from the medium breaking down and not draining properly.
Generally speaking, you’ll only want to repot every two to three years or when it becomes root bound.
What size pot do I need to repot my orchid in?
You want to give your orchid more room to grow, but you also don’t want to get a pot that’s too big. Choose a pot that’s around 1-2 inches bigger than the current pot.
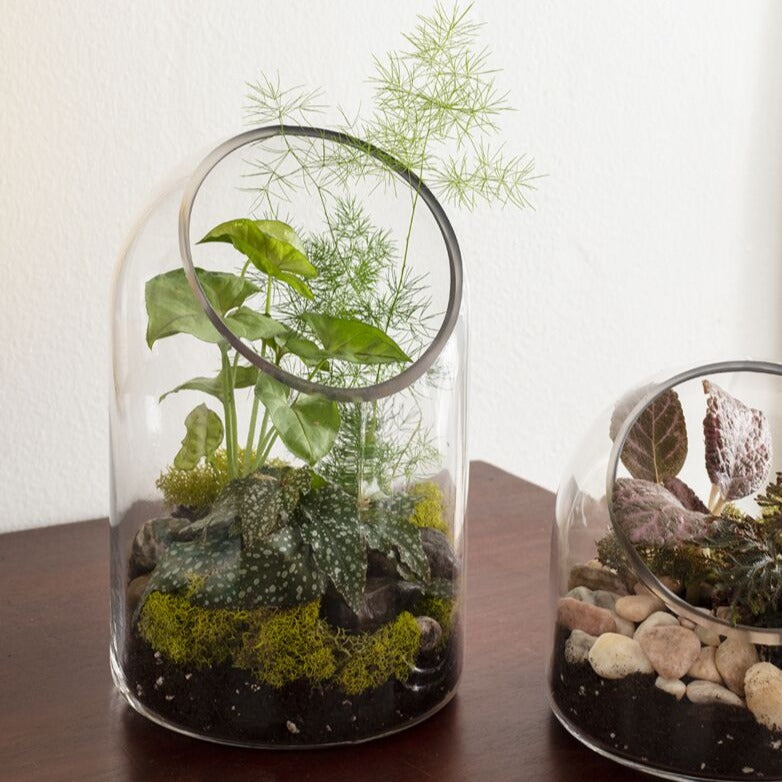
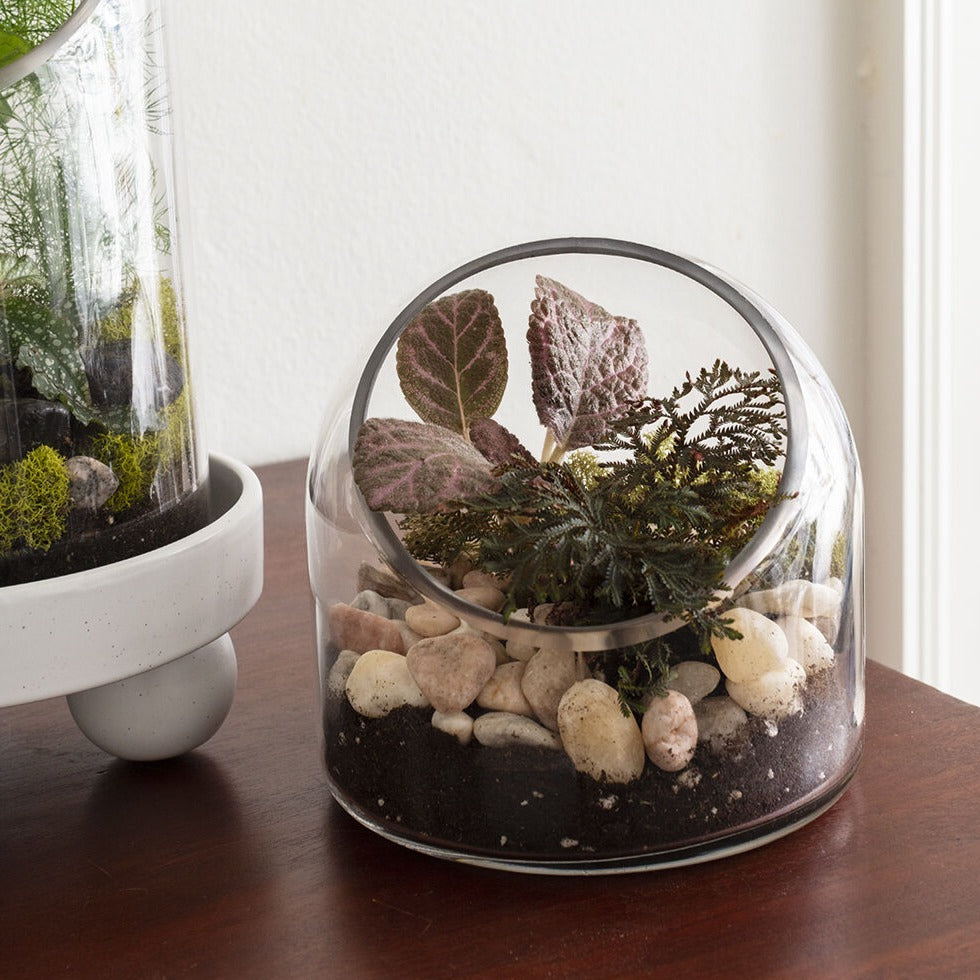
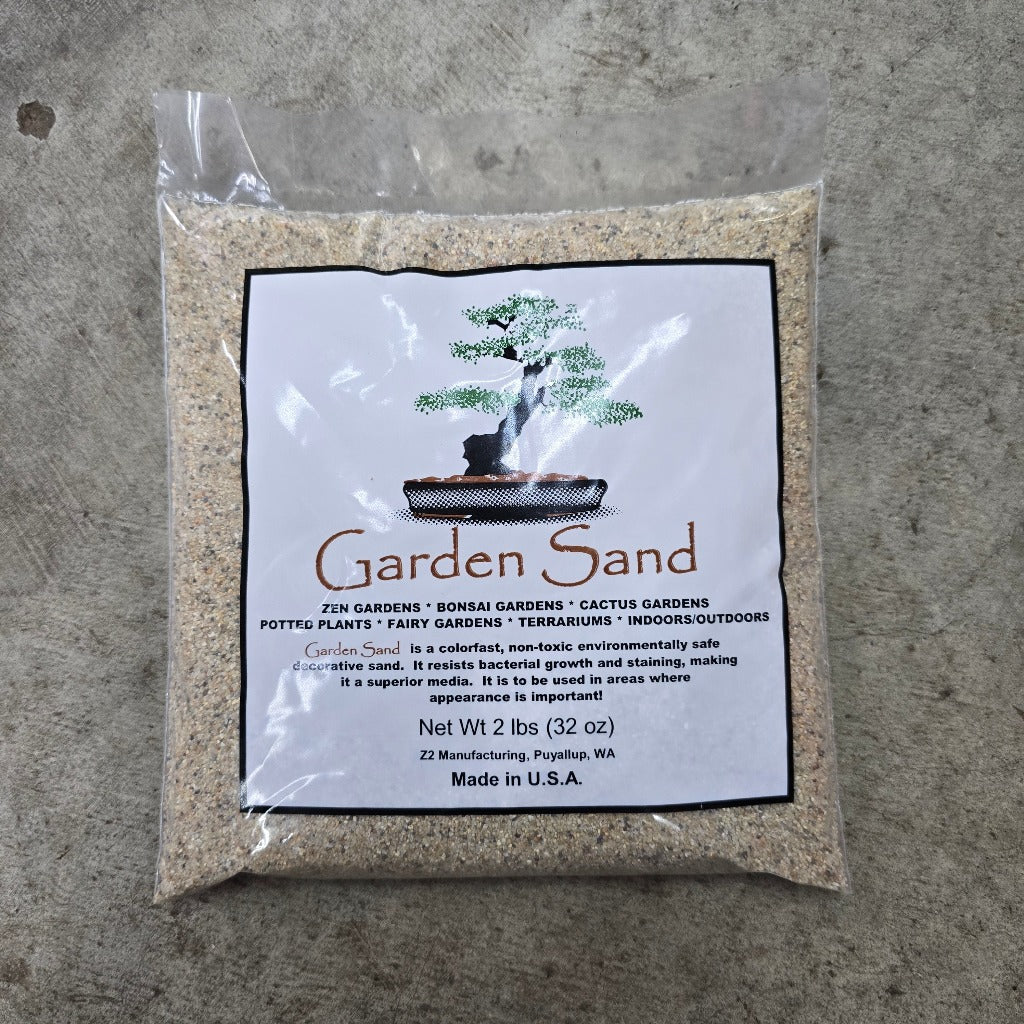
What potting mix is used for orchids?
You don’t want to use regular potting soil for orchids. Instead, opt for a growing medium made especially for orchids.
You can pick up a bag of Uni-Grow Orchid Bark from Peace Love and Happiness Club.
How to prep for repotting your orchid
Orchids are very susceptible to bacteria. It’s super important to sterilize your equipment and pot before repotting. Make sure to wash your hands with soap before handling your orchid too.
A good way to sterilize your tools is by wiping them down with rubbing alcohol or hydrogen peroxide. As for your pots, you can soak them or spray them with a vinegar or hydrogen peroxide solution 1:1 with water. Just make sure you rinse them thoroughly before potting.
As for terracotta pots, you can bake them in the oven at 220F for 1 hour and that should suffice to kill off any bacteria.
You’ll also want to sterilize the bark: simply pour it into a bucket and cover with boiling water. Let it cool, then drain.
Repotting the orchid
All right! Now you’re all prepped and ready, so let’s get started.
-
Take the orchid out of its current pot and carefully loosen the roots, especially if it is root bound.
-
Carefully clip off any rotted or dead roots.
-
Place the orchid and the medium into the new pot so that the base or new growth is level with the top of the pot.
-
Use a chopstick or your fingers to gently press some of the medium between the roots.
-
Fill in with the potting medium until it’s level to the base of the orchid.
-
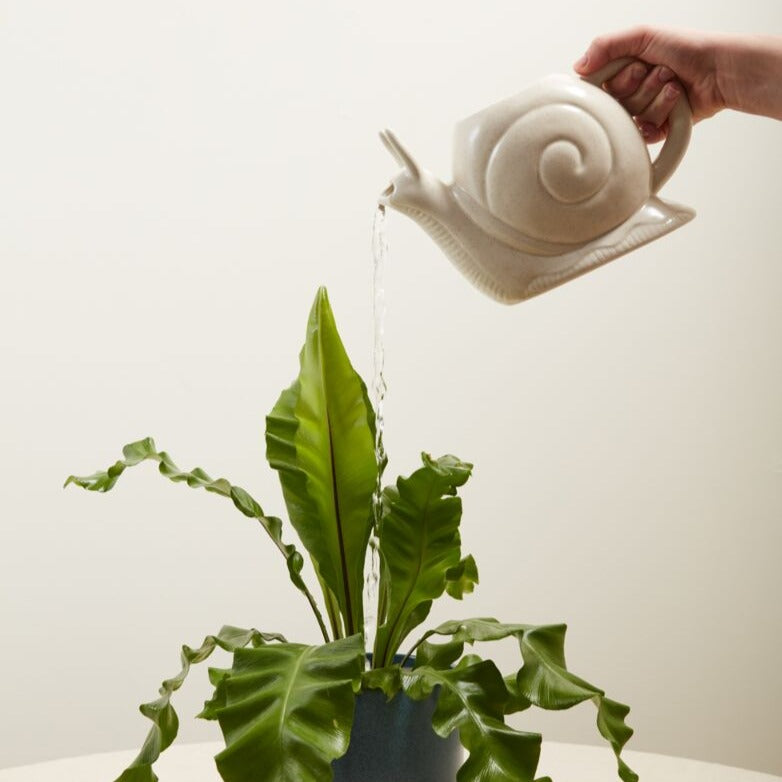
Mist for the next week until new roots start to show. We also recommend Orchid Food Mist for added nutrients. Simply spray it around roots, leaves, and soil once a week!
See? Easy peasy. Told ya you could do it.
Care for your orchid as per usual and go on to thrive and grow together in planty bliss.
Related post
30
Sep
30
Sep
30
Sep
30
Sep
30
Sep